Showing posts with label DIY. Show all posts

Saturday, 30 January 2016

Organising Your Pattern Stash


I introduce the first of the Spooky Sewing Studio Series, a new series I will be sharing.
And with all this talk of new years resolutions and it being January, I thought the first article should be about organisation.

Organising Your Pattern Stash


My pattern collection is rather large and as such, was rather difficult to keep organised and to sort through to find a pattern I want, until I decided to make a master list that I could search through.
My first attempt was using an iPhone app, which did not work for me. I ended up running out of space on it because I had so many pattern. Also I ended up loosing it all when my phone dies, taking with it the back up files on my computer by corrupting them.

My second attempt was to use an excel spreadsheet on my computer, but didn't help me when I was out shopping and needed to check if I already had a pattern. And I also lost it when my external hard drive failed.

I then decided to follow the advice of the wonderful Your Wardrobe Unlock'd article on organising your sewing stash and organise my patterns through a combination of an offline master folder, and an online spreadsheet through google Docs.

Online Spreadsheet.


I could of gone all online with the spreadsheet alone, but I prefer having a hard copy to flick through easily, rather than scroll through on a tiny screen.

Also, I have not added photos of the patterns to this spreadsheet, as I keep an offline copy on my iPod (that has no data access save for wifi) and ran into the same problem as the first app I used, running out of storage data.

I like using google docs, rather than an app or writing a note, because you can easily edit on a computer and have changes applied to the shared document on the iPod as soon as its sync'd.


The spreadsheet is set out thusly:
- Company
- Number
- Size Range
- Description of Pattern contents
- Pattern Type (Ladies, children's, accessories, etc.)
- Era (Historical, Retro, Vintage, Modern)
- Out of Print
- Cut

I also have a In Print Wanted list and an Out of Print Wanted list, set out in the same way.

The Pattern Master Folder.


I will admit that the initial set up was rather drawn out, but the upkeep is easy enough. I love having an easy catalogue of all my patterns at my fingertips, which I feel, makes up for the trouble to originally create.

I organise my folders by alphabetic Pattern company, then by number. You could also organise it by garment type or by era.


For the pictures I use my regular printer, which has a copy and an enlarge/reduce function. I copy both front and back of the pattern, usually in black and white to save ink, at 69% reduction. This makes it easier to stick both copied images to the same page.


Once I have stuck both front and back to the page, I write the pattern number on the top right hand corner to make flicking through in search of a pattern by number much easier. Also sometimes the number doesn't come out in in the printing.

Because I organise the patterns themselves in large tubs, I label the bottom left hand corner if they are placed somewhere other than by company, as I keep children's patterns and accessories/craft patterns in a separate tub.


I place each page in a plastic sleeve in the folders.
On the back of each I record any changes to make to the pattern to make it fit better, like here I need to shorten the skirt by 15cm (yes I am rather a short) or if I have drafted out a modified version (usually if I have had to make a pattern larger) I will record the style number I have given it so I can easily find it again.
(A style number is used in commercial fashion drafting to name and number a pattern.)


 Storing The Patterns


After cataloguing all the commercial patterns, I keep them in large plastic tubs, with each pattern sitting with the pattern number at the top so I can easily flick through and find the right one.

This is with the exception of the fragile 40s, 50s and 60s patterns in my collection, which are housed laid flat in their own cardboard box.


Once I have cut out a modern pattern, I can never get it back into the envelope. So I usually put all pattern pieces into a large document envelope and stick the pattern envelope, which I cut open so it lays flat, on to the front.

With the Vintage patterns I usually trace a copy of the pattern and use that to sew or draft with. I usually put it into the document envelope along with the pattern envelope, and stick another copy of it onto the front of the envelope.


How do you organise your stash?
 
Till next time.


Friday, 28 August 2015

Make Your Own Gothic Planner


After the latest talk from the awesome Evil Supply Co. about a planner  that caters to the dark at heart, I thought I would dredge up this tutorial from my older blog (that I am quite sure never actually saw the light of day. )
I couldn’t find a planner that worked for me and hold everything I needed, so I decided to create my own and add my own spooky touches.

I tried to carry the graveyard and bats theme throughout my planner, but you can keep it plain or use another theme. Maybe an Alice in Wonderland one with pictures of the characters or a grungy zombie one with biohazard signs and paint splatters. You are only limited by your imagination.


 Materials:

-  Printing paper for the pages, for mine I ended up using about a quarter of a ream.

- Thick cardboard and thin black cardboard.

- Decorative bits for the covers.

- Some way to hold your planner together. I used three round clips, used for making small scrapbooks. I found them at the local craft shop. I have seen others where they removed the rings from a folder and use that. You could even sew your planner together like a hand bound book.


 Thing the First: Decide what you want in your planner. I looked at a whole heap of planners and took what I wanted to have in mine. This isn’t the be-all-and-end-all list, feel free to remove some sections and add others. Mine has three main sections:
 
- Calendar and front stuff

Which has my week to two pages Calendar, ‘Things That Need to be Done’ lists, ‘Notes to Remember’ pages, ‘Logins and Password’ pages, a few ‘Books to Read’ pages and ‘The Garden’ pages.

- Blog Stuff

Which has a ‘Monthly Blog Planner’ and ‘Blog Ideas’ pages.

- Sewing Stuff

Which has ‘Projects at a Glance’ pages, ‘Project Plans’ pages, a few ‘Pattern Wishlist’ pages and a whole heap of coquis pages (which are the drawing templates for fashion drawings.)

I have not included the coquis I use, as they are not mine. I cannot remember where I originally got them from. But a quick online search can yield any style you would need. To make mine I grouped four figures onto the half A4 page, and reduced the opacity in Illustrator so they could be drawn over easily.

You can add pages for financial stuff, household management stuff, managing kids, whatever you need to organise and remember.
 
You can find my templates HERE:

You will need a program to unzip this file, and a PDF reader.


Thing the Second: Decide on how big you want your planner. I made mine half an A4, as it was the easiest to print as well as being small enough to fit into my bag, but not too small that there wasn’t enough space for all the info.

I made my pages in Adobe Illustrator because that was where I had drawn my images but pages can easily be made in Word and Paint or Photoshop.

 A word of warning: If you want two sided pages DON’T just print the same page on both sides, or you will have one page that aligns with the holes for the hole punch and one side that the holes cut into the side decorations.

And don’t make the mistake I did by just flipping the whole page, because that makes it all backwards (you’d think that would go without saying, but it wasn’t till I had printed a few pages out that I realised the bullet points were on the wrong side.)


Thing the Third: Once you have got your pages, it’s time to print them.


If your printer does not automatically print double sided, you may want to test what way your paper feeds into the printer. I just make a small pencil mark on one corner of the page and print the first pages. It stops you getting confused when printing the other side and printing both pages on the same size, like I did.

If you use my ones, I’ve provided both a side A and a side B for the planner pages. They should give you a two sided page once cut in half.

When I was printing out my pages I found that printing one side first in bulk then printing the other sides one by one was best as my printed didn’t like printing the other side properly with too much in the tray. Hopefully your printer behaves better than mine.

Once you have all your pages printed out, use a hole punch and make hole corresponding to the clasp you are using.

Now, on to the Tutorial:

1. For the cover I cut two pieces of very heavy cardboard a little larger than my planner pages.

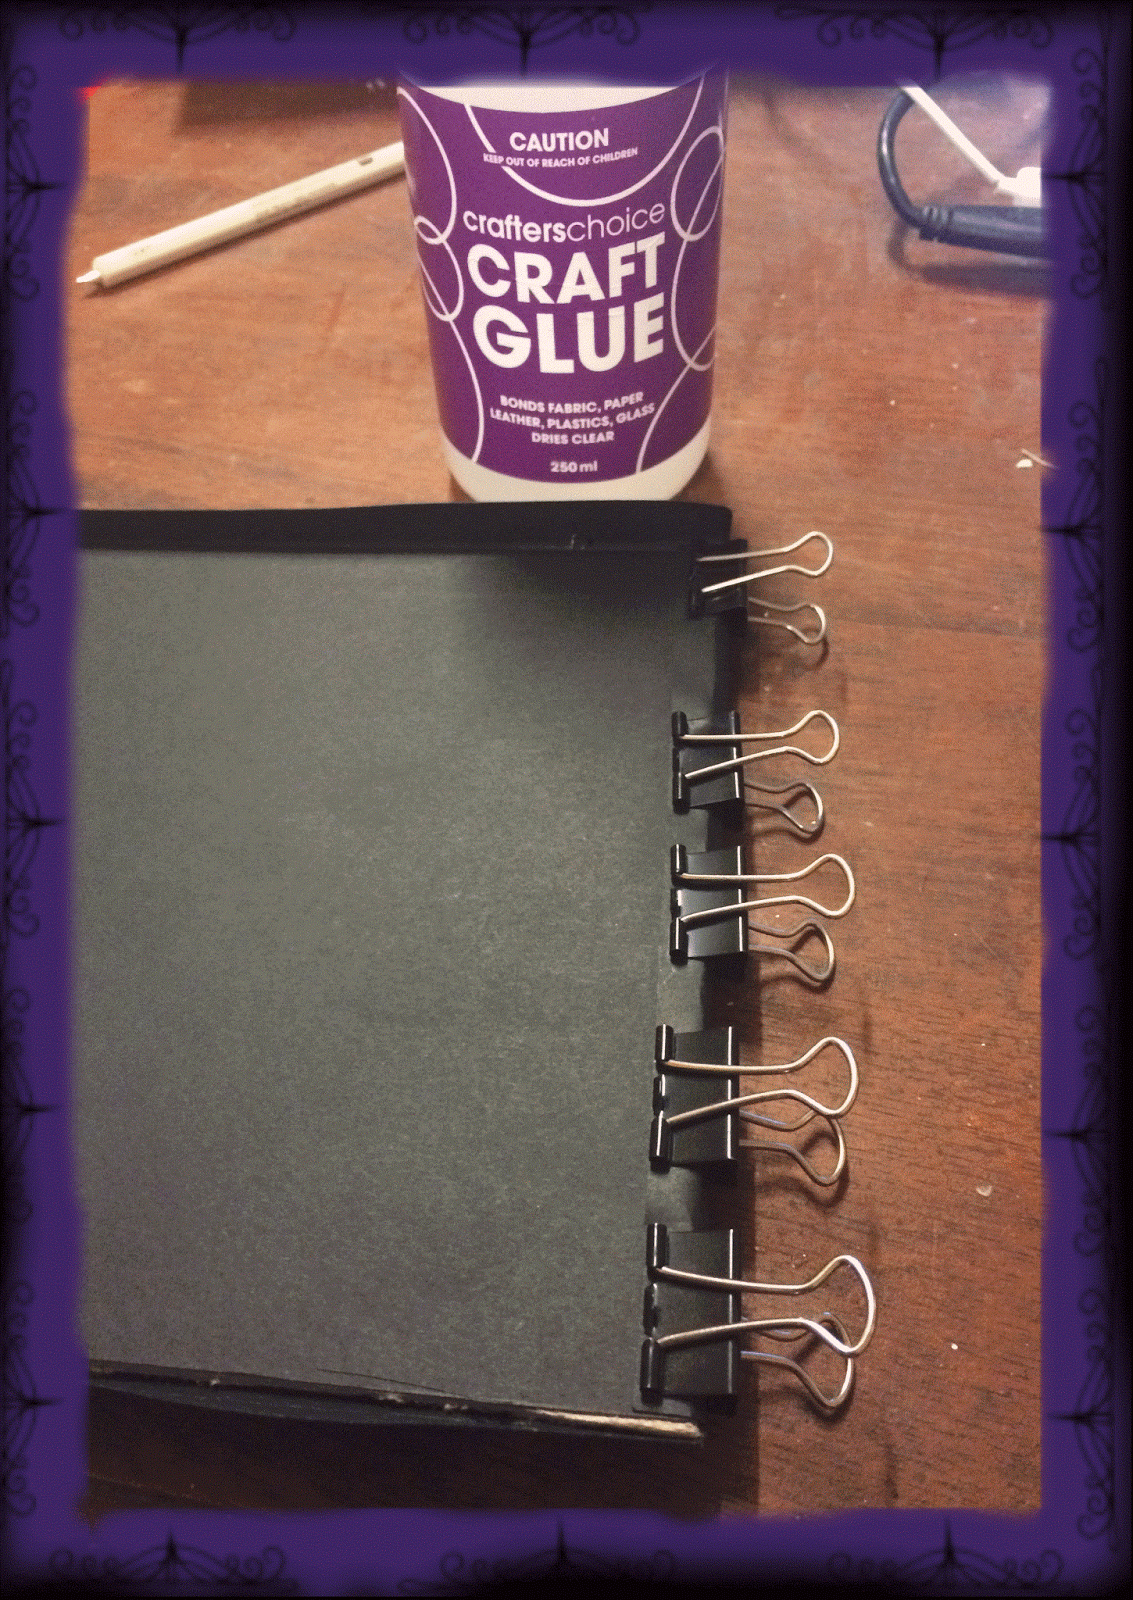
2. For the front cover I cut strips of black paper and glued them around the four edges of the cover to give a nice clean finish. For the back cover I cut it so the strips were part of the back piece, so it looked like a + sign.


3. Then folded them over and secured the other side over the top to make it all nice and neat.


4. Now the fun part, decorating the covers! This is where you can really get creative, but make sure your decorations are very secure so they don’t fall off in your bag.


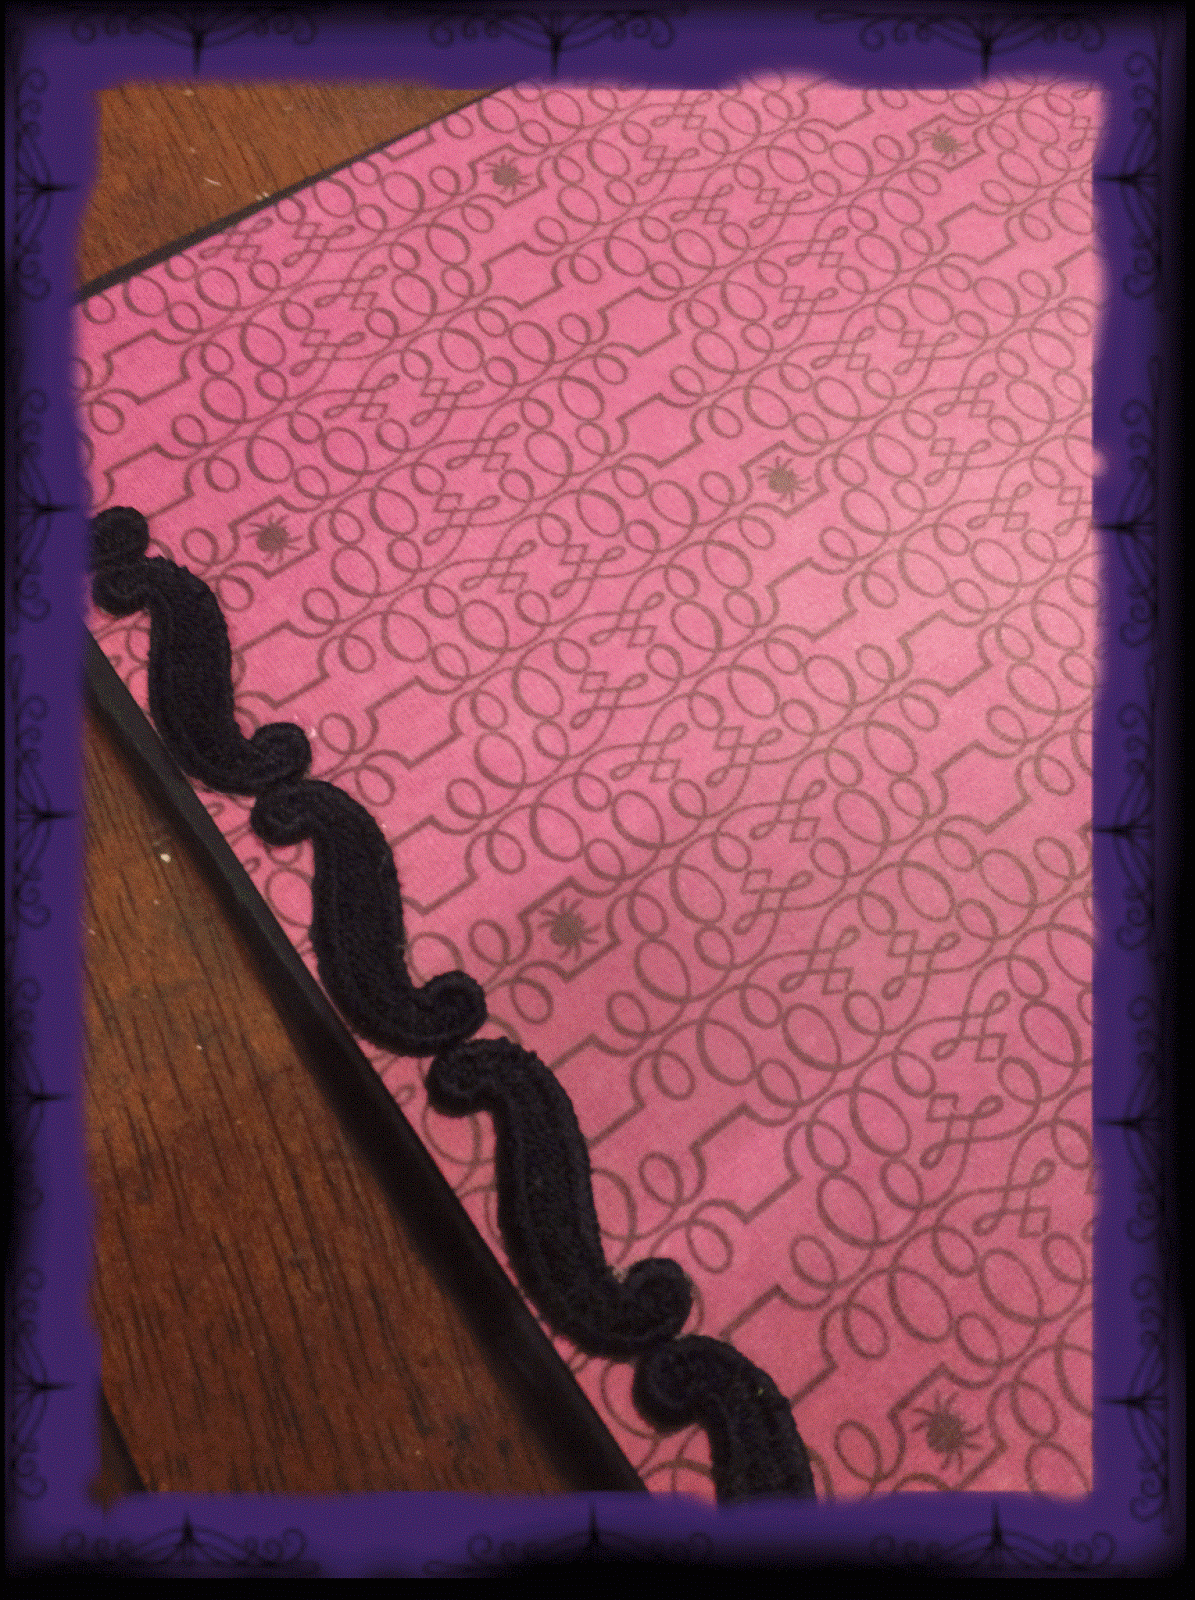
For my cover, I used some Halloween scrapbooking paper cut to size for the front cover and just plain black for the back. I added some swirly bats and some pretty decorative trim to the top, bottom and on the inside.


5. Punching holes in the cover is a bit harder, I ended up piecing it with a small stiletto (for making holes in fabric) first but a sharp pair of scissors should do it. Make the hole wide enough for whatever clasps you are using.


I made some tabs for easy flipping between sections. I cut some thin black cardboard and glued the section names onto them. Then I glued them to the first page of each section, staggering them.


I tied a ribbon to the top clasp of my planner to make a bookmark for keeping track of the week in the calendar.

And there you have it. Your own spooky planner.